
On my birthday, I took the day off from work and a friend of mine and I went shopping...so much better than working. At one point during the day we ended up at Joann's looking for buttons for the bracelets that I made for Christmas. As we were looking around we started picking up buttons for earrings. I can't remember if my friend left with any buttons, but three pairs came home with me that day.
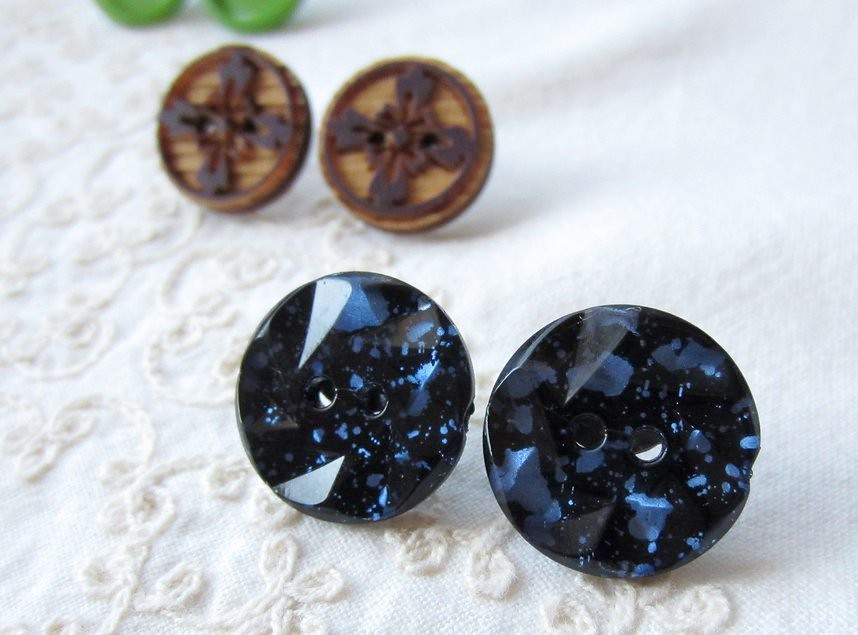
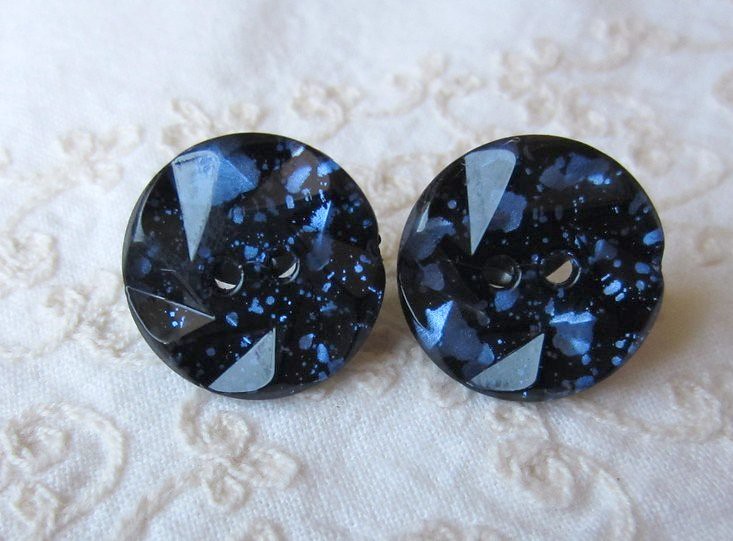
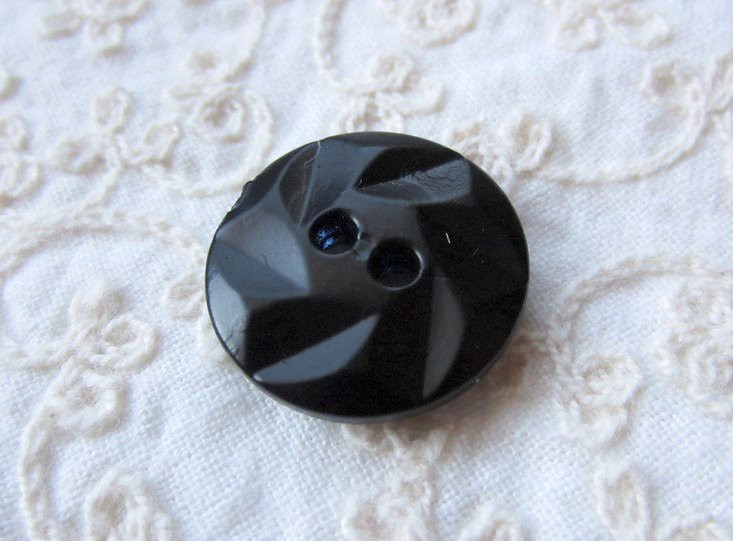
The 80's buttons. They kind of remind of me of acid wash.
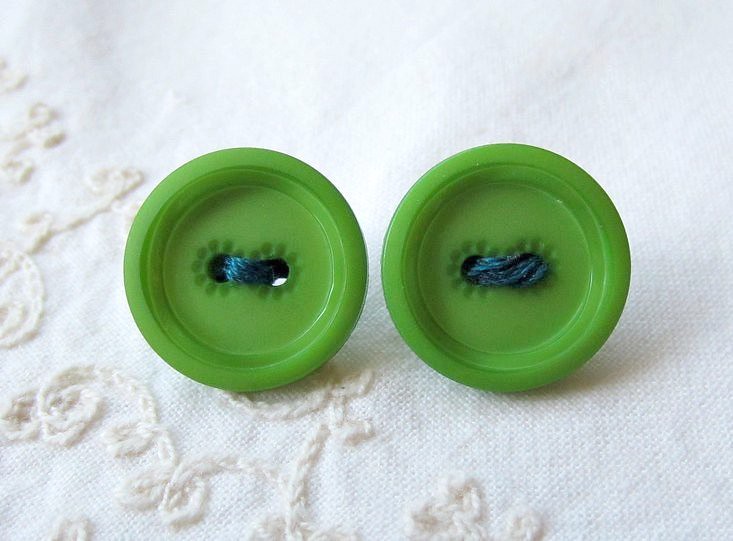
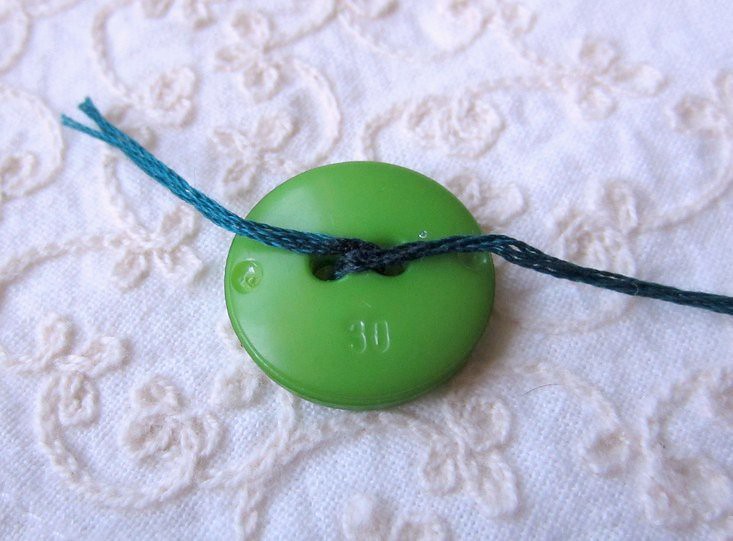
A pair of green buttons. I always want to wear green earrings, but I don't have any. Problem solved. The right one came out a little awkward, but I don't think anyone will
see that when they are on my ears. If it really bugs me I will redo that earring.
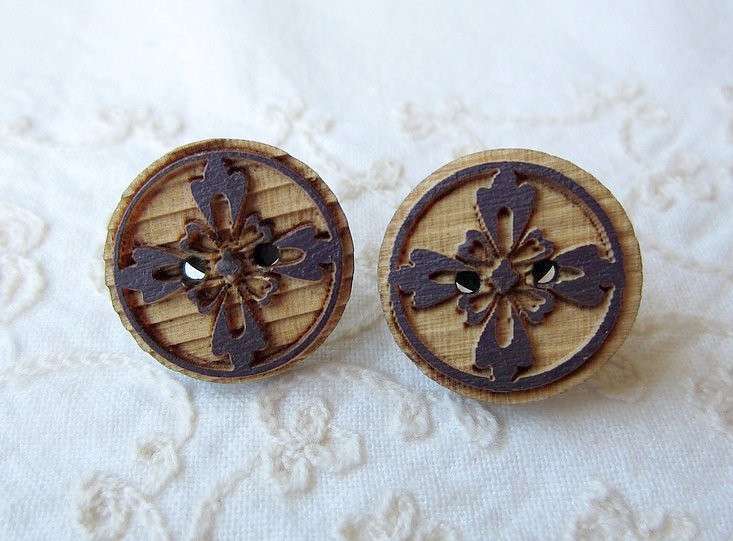
And a pair of wood buttons. I am not sure, but these might match the color of my ears.
If they do, then I will probably give them away. That sounds weird...but I don't like flesh colored earrings.
Now it is time for you to make your own.
Supplies:
Buttons
Embroidery thread (Optional)
Earring posts and backs
Crazy glue, hot glue or similiar
Instructions:
1. Optional step. Skip this step if you don't want to use embroidery thread. Thread
the embroidery thread through the holes. Start start from the front of the button
and loop through the holes twice with the thread coming out the back.
Instead of knotting the embroidery thread at the back of the button, Crazy glue
the ends down. (On another pair of button earrings I knotted the embroidery
thread, hot glued the post to the back and because of the uneven surface the
post popped off repeatedly.) Cross the threads over each other and then glue
them down. After you glue the"cross-over" then cut of the ends. On the messy
thread button I cut theends to close to the button and then glued them down.
While gluing my fingers to the thread and button, the thread loosened a bit
creating the messed-up look. I was not going for the messed-up look.
2. Use two different glues depending on the type of button.
2a. Crazy Glue. (Sorry, I don't have a picture of this step.) Put the glue on the post
instead of on the button...you are probably asking why, and I don't have an
answer...I honestly don't know if one way is better than the other. For larger
buttons, make sure that you glue the post to the edge of the button or the
button will sit high on your ear lobe.
2b. Hot Glue. If you are working with a surface that is not smooth, then use the hot
glue because you can work it into the molded portions of the plastic.
3. Let the earrings sit for a while so that the glue can cure (if glue actually cures)
just to be on the safe side.
4. You are finished! Wear your new earrings proudly.
I really like wearing button earrings. There are so many styles and colors to make them your own. Make a few pairs for yourself or make a bunch to give away as gifts. Have fun!
Thanks to Beverly at Flamingo Toes for the Link Up.
~Leslie
Your friend didn't go home with any buttons. I sorted and accessorized very many craft ideas at Joann's that day... and went home with... actually, I don't think I bought anything.
ReplyDeleteI love the 80's earrings, I hope they make their appearance soon.
@Melissa
ReplyDeleteWe will have to remedy the fact that you went home with nothing. I think another shopping trip is in order.